
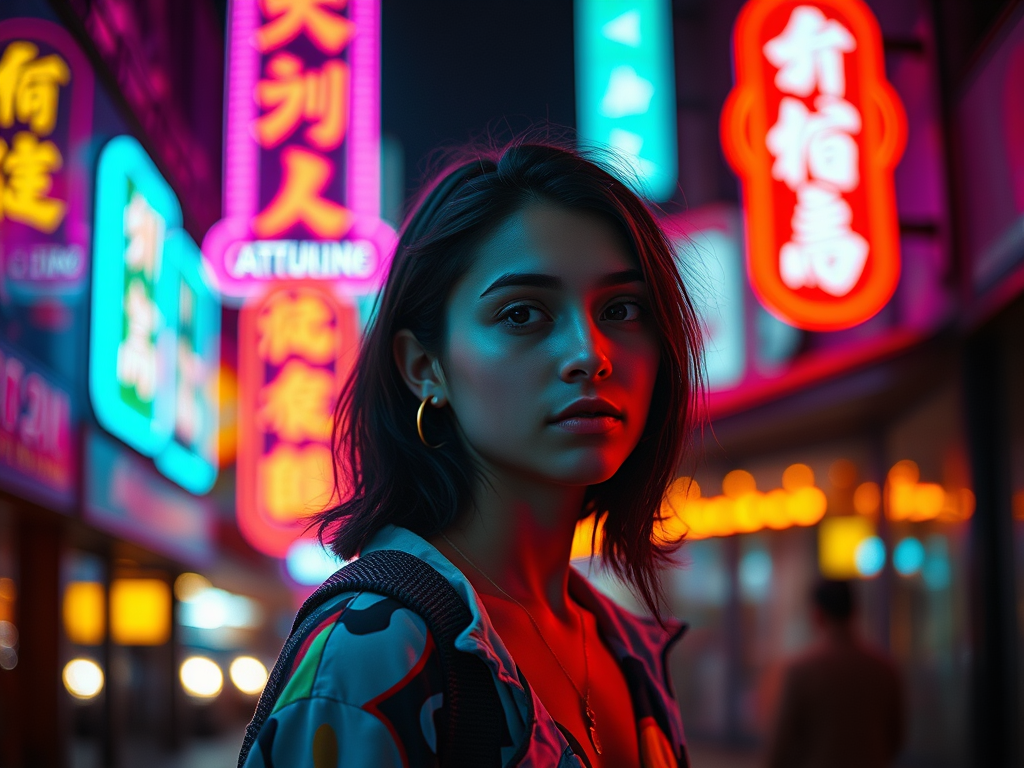
Capturing perfectly defined images at night takes a little finagling with any camera that you use. You’d like to think that your camera is smart enough to handle all the settings without you having to know them, but the truth is, manual settings work the best.
Nighttime portraits can carry a unique allure to them as you are unlimited with your imagination as to where you can derive your light source from. A typical tungsten or florescent light will give you more traditional portraits, while neon signs, LED displays, light strings and other commerical displays will give you unique lightings and colorations.

Auto and Night Scene Mode
Leaving your camera in automatic mode is something that you can do- if you are ok with the outcome. I recommend that you try a few pictures out a see what you’re working with. The 3 main issues you will have with automatic function at night are; trouble focusing on your subject, the flash will wash out colors in your subject, and you will loose the details of the background due to it being underexposed and dark. If you are looking for the brighter light on your subjects face and a dark background, the focusing problem can be solved by turning your lenses autofocus to the manual focus feature. Leave the stability on, as you will need that at night- especially if you are holding the camera.

Another nighttime setting you can try on your camera is the night scene mode. This is another fully automatic function that will trigger the internal flash on your camera and will trigger a longer exposure time by decreasing the shutter speed. The overall affect of this setting is still going to be very similar to the image above. For me, I personally do not like to use the flash on the camera if there are alternative light sources available in the surroundings.
Aperture Priority Mode
Aperture Priority Mode on your camera, often represented by an ‘A’ or ‘AV’ on your camera dial allows you to control the aperture and the ISO, while the camera selects the shutter speed. If you increase the aperture, your camera will automatically compensate for the increase in light by increasing the shutter speed. If you decrease the aperture your camera will decrease the shutter speed to make up for the decrease in light into the camera. If you remember from our previous Depth of Field lesson, the larger the aperture the smaller your focal point is, the more blurred the background becomes. The smaller the aperture the larger your Depth of Field therefore more of the picture remains in focus. By playing with the aperture you can narrow in on what exactly you want the viewer to see by subtly blurring away other elements that are less important in the image.
By changing the ISO you can force your camera to change the shutter speeds. Fast shutters are essential for capturing movement; your subject walking, dancing, juggling, while slower shutter speeds are for stationary objects and pictures where longer exposure is needed to capture all the details. You can also force blur in an image with a longer exposure with your subject standing still and incorporating movement from an outside object; say a moving advertising sign, tossing a string of lights at your friend, or standing in front of a ferris wheel.
If you are finding that after you have adjusted the ISO and the aperture of your camera that you are still not happy with the camera shutter speed there is a setting to try to help. Camera exposure meters aren’t always 100% correct or can deteriorate with the age of the camera. You can change the exposure compensation setting on your camera to try to help adjust for over or underexposure. (Grayed or washed images) Most camera have a small +/- button on the top of the camera by the settings wheel. Once you press this button use the smaller settings wheel on your camera to adjust the stops up or down. Start small. Adjust 1 step, take a picture look at the results. Cycle through a few stops and then decide what is the best setting for your current shoot.

At the end of the day, creativity is just as endless as what you can come up with. I challenge you to go out and start taking pictures at night and getting better understanding about how your camera works in all the functions I listed above. I also recommend keeping an exposure journal. Especially when using the Aperture priority mode. Cycle through 3-4 different settings on each photo and keep track of those. This will allow you to know what settings work best on your camera in which night scenes. After all the most power you can have over your camera is to use 100% manual mode. The more you know- the better pictures you will take!
Stay snappy my friends!
Leave a Reply