

A well thought-out plan is key to the success of any project, especially one as exciting as photographing the eclipse. For anyone who has never experienced watching an eclipse with their own eyes, it is a fascinating, beautiful experience that lasts a couple of hours from start to finish, but only seems to go by much quicker than that. Having a solid plan from start to finish as to what cameras, lenses, filters, film, camera setting, tripods, where you should be, and knowing the times of the phases will be key to keeping you stay on track and get the best photographs.
Solar Viewing Glasses

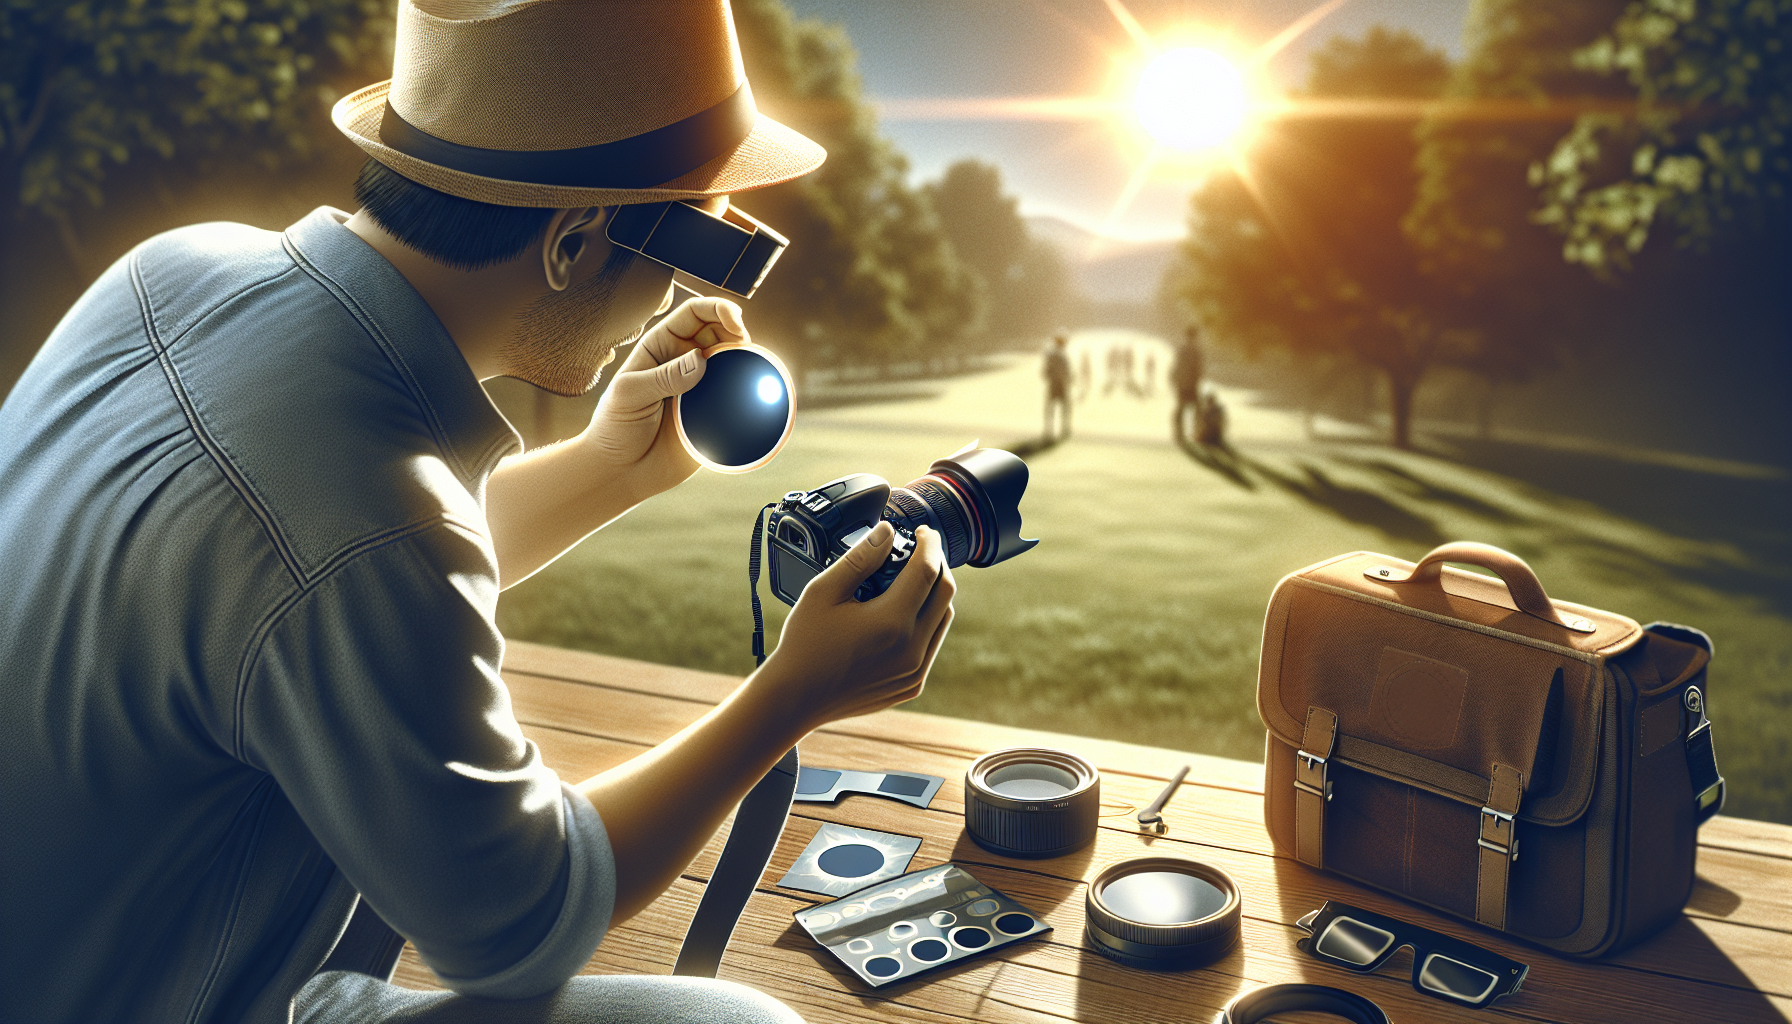
First things first, you want to make sure you have the CORRECT SOLAR VIEWING GLASSES and the correct filters on your camera to view the sun. Looking at the sun without approved eye protection can cause damage to your eyes or blindness. My personal favorite are the glasses that look like safety glasses, versus the paper 3D style glasses, but whichever ones you choose, make sure you have them on during all phases of the eclipse; except the corona, which can be viewed with the naked eye. DO NOT look through the view finder of an unfiltered camera without glasses, it will not protect your eyes. The moment I decided that I was going to photograph I immediately purchased a pair Eclipser HD glasses for myself and a 4 pack of the paper ones for the kids. Glasses and filters are usually the first thing that sells out, so purchase those things first.
Camera Solar and Neutral Density Filters
You will need the correct Neutral Density, and/or Solar filters for your cameras, phone, or other viewing devices. Do not point your camera at the sun WITHOUT THE CORRECT FILTERS, you can cause permanent damage or death to your camera. DO NOT point an unfiltered digital camera towards the sun and use the live view or the electronic viewfinder, as the magnification within the camera will magnify the suns rays and can burn your sensor.

There are different sites online instructing which neutral density filters to stack to be able to achieve a safe level to view the sun, but since NASA states the correct ND filter should be no less than 16 stops, I went and purchased a couple of filters specifically made for this occasion. I purchased a Tiffen ND 18 stop filter, and a NISI Solar 16.6 stop filter and called it a day.
To be clear, ND density filters do not protect your eyes and equipment from non-visible IR and UV radiation, they just cut the suns light and allows to you take longer exposures. Solar filters do minimize visible IR and UV radiations and cuts the brightness of the sun to allow for more detail when photographing the eclipse and allows for longer exposures. I purposefully purchased a ND filter and a solar filter to see what kind of difference each one made with my pictures.
Filters for photographing the sun are pretty pricey, especially when you are getting into the larger mm diameter lenses. There are less expensive options like solar film that can be applied to the end of your lens, and intermediate options that can be applied in between your camera and your lens- and like I stated before, lots of homemade options which can be found online and fabricated at home. But no matter what route you choose, please be 100% sure that your filter is covering your optics 100% and it is on your optics AT ALL TIMES, except during totality, when the corona is visible (more on that later). Protect your eyes and protect your equipment correctly- it is never a good idea to take shortcuts in the safety department-EVER!!
On a side note, they also make relatively inexpensive filters for your phone’s camera. I purchased one of these for my iPhone ProMax 13 for $19.99 just for fun.
Camera, Film and Lens Choices
Other than the eye protection and the special filters that YOU NEED for your camera, there really is no special camera or lens that you need in order to photograph the eclipse. Almost any camera will work as long as it has some manual functions. To decide which lens you will need, you’ll need a brief understanding of focal length (To become an expert in focal length click here). The larger the focal length of the lens the bigger the eclipse will be in the frame, the smaller the focal length of the lens, the smaller the eclipse will be in your frame. Rule of thumb for 35mm- the diameter of the Sun’s image is approximately equal to the focal length divided by 109.
Photographed sun size (mm) = Focal Length (mm) / 109

Focal length of the lens determines how much space an object will take up in the frame of your photograph.
Say, you are using a 35mm camera with a 1500mm focal length, at this range the photographed size of the sun in your frame would be 13.76mm. Depending on the results that you are looking for in the final image, you want to be mindful that you leave enough area around the sun in the frame to capture the longer coronal streamers and the Baileys beads light rays. If you are right up on the sun, yes, it is a really unique picture, but it is also all other details that are going on around the sun that you will want to capture as well.

A recommended lens focal length for photographing an eclipse is between 800-1200mm.
Film choice and Aperture and Shutter Speed
The most important part of your planning for the eclipse is to have a well-thought out plan at each stage. From the moon starting to cover the sun, to totality, through the moon moving away from the sun; you will need to have a detailed plan of how many pictures do I take at each stage, what will be my group of setting for each of those picture stages and what speed or ISO film do I wish to use at each stage.
To understand how to photograph each stage of the eclipse, you’ll need to take into account how much light will be visible at each stage. As lower than 100 ISO films are harder to find today, recommended ISO for the eclipse is between 100-400. The brand of film is purely your choice. I have some Russian Svema 65 ISO film that expired back in 1981, that I may try, but for this occasion I will mostly be using fresh film. Also, keep in mind that every camera is different, I own 5 Cannon AE-1 Program SLR cameras, they all take pictures a little differently. If you are unfamiliar with how your lens, camera, and filter all work together, or you’ve never photographed the sun before- PHOTOGRAPH the mid-day sun with a different range of settings to see which ones work the best for your set up.

The above table is a great start to try to determine what settings group you want to use. I always recommend using a bracket while planning your exposure log. By going at least one step above and one step below when it comes to shutter speed will help ensure that you get good pictures.
The lens that I chose to use on my Canon AE1-Program was the Opteka 650-1300mm f/8 HD Telephoto Zoom Lens. This is a completely manual lens and the aperture is set for each focal point length that you use. The focusing on this lens is extremely touchy, and the overall lens is pretty heavy and adjustments are not smooth. I had to play with this lens, determine my best focal point, mount the lens with the camera on the tripod and then focus. I found trying to adjust the focal length while the lens and camera were on the tripod was extremely difficult. I didn’t spend a whole lot of money on the lens, so my expectations were inline with the price I paid for it.
I will say it again, I always recommend testing your camera, film and lens on your subject prior to actually photographing the full event. You can read all you want online, but how your equipments reacts in the moment may be different than someone else’s experiences. Knowing how everything preforms and at what settings is key, and also just knowing that your equipment works is priceless as well. The Saturday before the eclipse was a beautiful sunny day with zero clouds. Now, I have 2 younger children; 6 and 4 years old, that love to rummage through my things. My darkroom is currently under construction, so some of my camera equipment is not locked up. I went outside on this beautiful Saturday at about 1:30 and I started to lay out all my cameras, lenses, film and equipment. When I went to mount the camera, I realized that the camera mount for the tripod was missing. Fast forward about an hour, I finally found it and mounted my camera and I thought I was ready to go. Wrong, the finger nut that holds the camera in the tilt position was conveniently missing, so fast forward about another hour for my trip to Menards, and now we’re good.
My original goal was to test drive 3 types of film; Kodak T-Max 100 ISO, Ilford Delta 100 And the Wolfen Original 100 ISO UN 54. I was going to shoot 18 pictures on each roll of the sun, and then rewind it and shoot the last 18 pictures of the moon. I wanted to test which would be the best exposure settings for the films in the different light conditions as well as see which film produced the best grain images of both the sun and moon.

After I wasted more than 2 hours getting all the pieces required to make my tripod work, I just decided to test the Wolfen as that was the only film I had never shot before. With everything set up, I focused up at the sun and decided that I was going to use the 1,000mm focal length, which has an aperture of 8. It just had a nice size and overall layout in my camera view. I will point out here, the most annoying thing for me in taking pictures of the sun (and a lot of sky things at night), is finding the subject in the vast sky when the camera is attached to the tripod. The solar filters and the neutral density filters are so dark, you can’t see anything to reference to help you find it. You just sway back and forth in the general direction until you find it. I cycled through different shutter speeds for the 18 pictures and familiarized myself with how much of a pain in the butt is was to focus my lens. Took my camera back inside and waited for the nighttime.
I went out at 10, 11, 12 and 2am. Where’s the moon? It was a beautiful clear night, but the moon appeared to be camera shy, and I decided I was going to bed. The next day was a bit cloudy, so I decided to burn the last 18 pictures of the film of the birds building their nests around my house. I always will shoot every pictures on a roll. I was taking pictures, got to the 36th frame, still a viable picture. Took another one, still a picture, took another one, still a picture. Crap- I had a really hard time loading this roll of film, as if the film itselfwas not wound on the cartridge correctly. I went down to my room in the basement, opened the camera, and just as I thought, the film had come off the winder somehow and I have zero test pictures. Seems right, everything else was a struggle as well to try to take some test pictures, and here I decided I was done with the whole test attempt. So, no test pictures for me, fine, but I had all the components to all my cameras, and I just packed everything up I needed for the next day, put everything in the car except for the cameras and put my mind at ease there.
WHERE should I take pictures and WHEN?
Knowing where you want to set up and knowing when to take pictures is just as important as all the other steps above. NASA has an eclipse explorer2 that I found to be best out of all other other eclipse tracking websites. I was able to put in zipcodes and zoom in on the map to decide where I wanted to set up within the eclipse’s path. A total eclipse brings thousands of people into an area, and even though I only live about 2.5 hours from the most centered totality point, I did not want to take pictures with 5,000 of my closest friends. I live in the North of Indiana and the 4 minute totality point was visible in and around Bloomington, IN. To get from Elkhart to Blooming, there is only 1 ‘main’ road- route 31, which is a 2 lane highway that goes from north to south over the rivers and through the corn fields. My goal in positioning myself was to be close enough to see almost all of the totality, but not be in an area where I don’t have a nearby bathroom or where I could not secure my equipment. I chose Peru, IN, where NASA rated it a 99.7% totality rate. I then began to look at Airbnb’s and reached out to a couple people to see if they would be willing to rent me their place just for the afternoon. One couple responded back that they had someone checking at 11 that day, but I could come after 12:00. This place looked perfect as it was private had a large backyard with a pond in it and minimal trees.
So with all the proper equipment in hand, plans of when to photograph, where to photograph and how to photograph- you should be ready for a successful day! Always remember-life is what happens when you’re making plans. See what the universe had in store for us on our eclipse tracking journey down to Peru, IN.
Leave a Reply